Thinking about listing your Scarsdale home in the next few months but not sure where to start? You are not alone. Buyers in Westchester have high expectations, and the homes that sell fastest and for the best terms look move-in ready in photos and in person. In this guide, you will get a practical, room-by-room plan for light updates and staging that fit Scarsdale’s classic colonials and its midcentury or modern contemporaries. Let’s dive in.
Why staging matters in Scarsdale
Scarsdale buyers often balance an appreciation for classic architectural character with a desire for modern convenience. They value practical layouts for family life, proximity to the Metro-North commute, quality finishes, and inviting outdoor spaces. Staging that highlights these strengths helps your home stand out online and during showings.
You do not need a full renovation to make a strong impression. Fresh paint, updated lighting, cohesive hardware, and clean spaces can shift buyer perception from “project” to “move-in ready.” The right presentation also clarifies how rooms live day to day, which is especially important in homes with formal rooms or open-plan spaces.
High-impact updates before staging
Prioritize these quick, visual improvements before you bring in furniture and styling.
- Fresh neutral paint. Choose warm, clean neutrals that complement millwork and built-ins. A consistent palette helps rooms feel larger and calmer.
- Lighting upgrades. Replace dated fixtures and ensure all bulbs match color temperature. Aim for 2700–3000K for a warm look or 3000–3500K for a cleaner, brighter feel depending on your home’s style.
- Hardware refresh. Update cabinet pulls, door levers, and faucets. Keep finishes cohesive across adjacent spaces.
- Flooring care. Deep clean carpets and area rugs. Touch up or refinish hardwoods if wear is obvious.
- Kitchen refresh. Declutter surfaces first. Consider painting or refinishing cabinet faces, swapping dated backsplash tile for a simple neutral, and updating faucets and lighting. Replace counters only if visibly worn.
- Bathroom tune-ups. Regrout and recaulk, update mirrors and lighting, replace tired hardware, and add fresh towels.
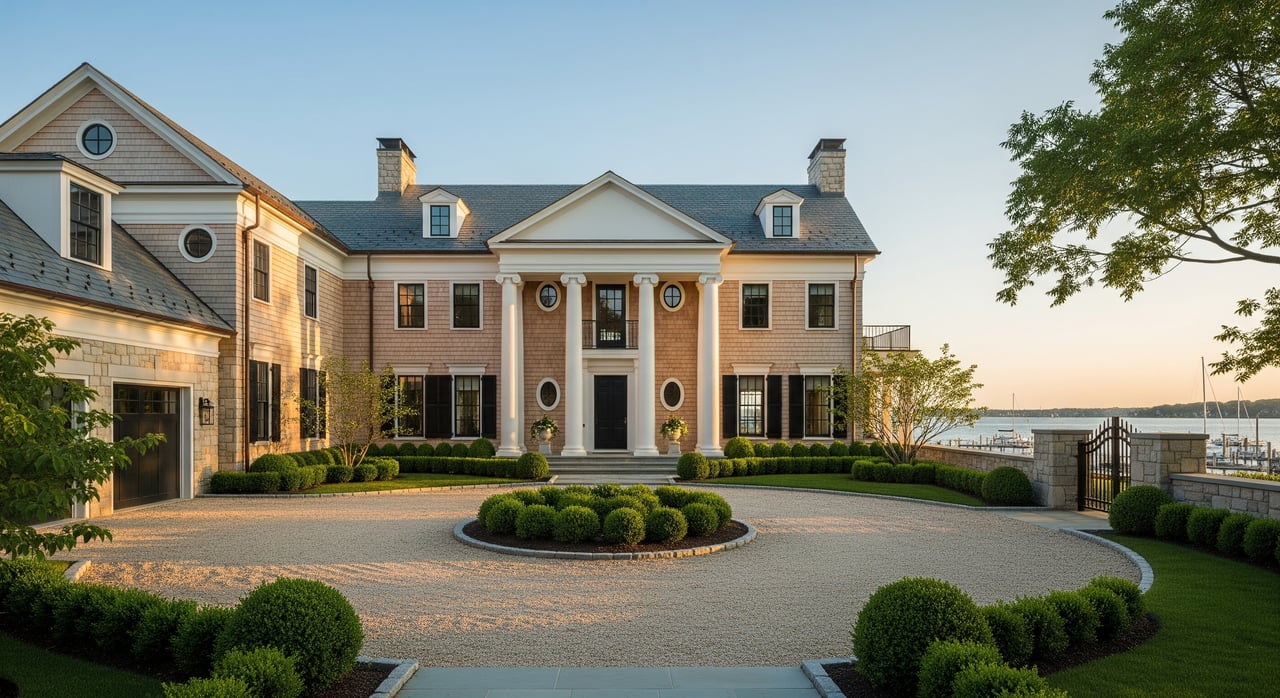
- Curb appeal. Prune, mulch, power wash, repaint the front door if needed, and add seasonal planters.
- Deep clean. Windows, vents, and baseboards matter. Consider professional cleaning and window washing.
These updates require minimal disruption and typically do not need permits. They also photograph well, which drives online interest.
Stage by style: Colonial vs contemporary
Colonial homes
Colonials are Scarsdale staples. Play up symmetry, millwork, and defined formal rooms.
- Furniture. Choose traditional or transitional pieces sized to the room. Use pairs of lamps or chairs to reinforce symmetry.
- Palette. Warm neutrals with soft blues or greens keep the look timeless. Let trim and moldings shine.
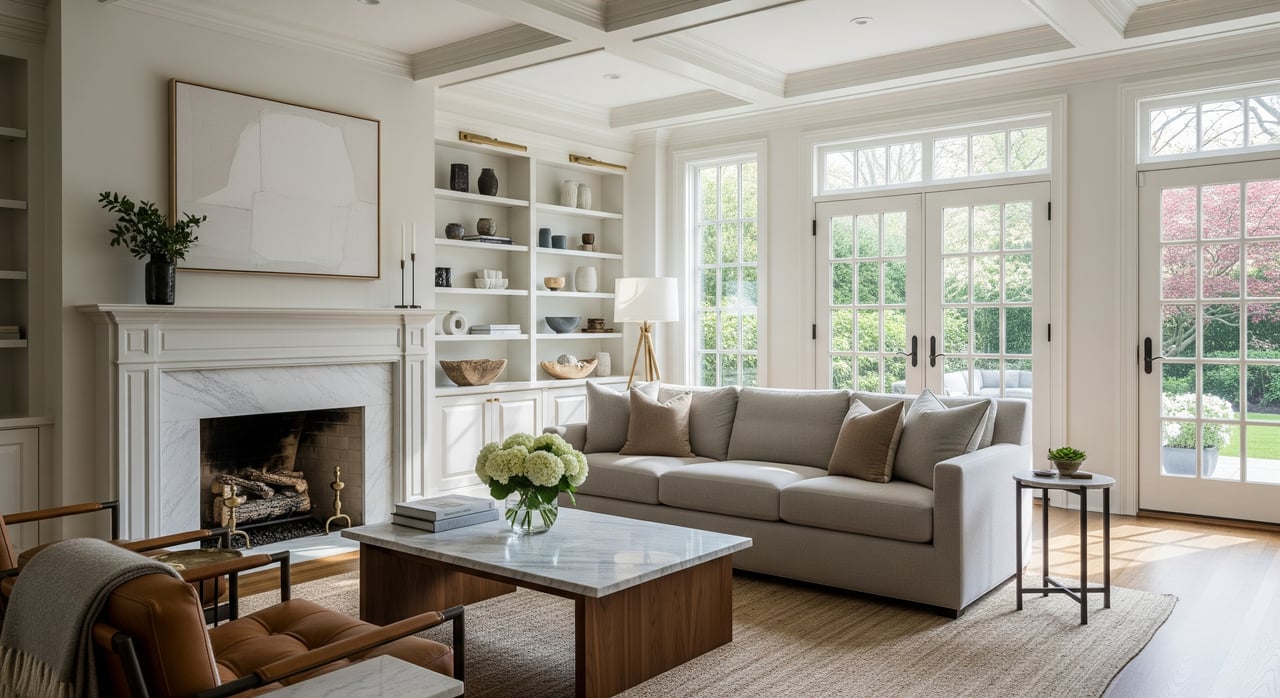
- Priorities. Stage a conversation area around the fireplace, show a formal dining room that seats a crowd, create a flexible den or office, and make the entry feel practical and welcoming.
Contemporary and midcentury homes
Contemporary and midcentury homes favor clean lines and light.
- Furniture. Low-profile, streamlined pieces with fewer accessories emphasize space and flow.
- Palette. Cooler neutrals with natural textures like wood, wool, or leather create calm contrast.
- Priorities. Define zones in open plans with rugs and layout, spotlight the window walls and indoor-outdoor connection, and highlight built-ins or smart systems.
Room-by-room checklist
Use these quick-hit moves to get each space photo ready.
Entry and foyer
- Clear sightlines, add a mirror, and use a small console and bench. Keep personal items to a minimum.
Living room and family room
- Arrange seating for conversation, not just TV viewing. Use neutral upholstery and one or two accent colors. Maximize natural light and simplify window treatments.
Dining room
- Right-size the table and add a simple place setting. In colonials, underscore formal capacity. In contemporaries, show flexibility if the room could double as a study.
Kitchen
- Clear counters of small appliances. Refresh lighting and faucets. Style an island with stools and add a bowl of fruit or a small plant for life.
Primary suite
- Create a calm, uncluttered retreat with layered bedding and neutral pillows. Edit extra furniture. Tidy closets to showcase storage.
Secondary bedrooms and home office
- Stage one functional office if possible. For bedrooms, keep decor simple and neutral to highlight space.
Bathrooms
- Clean and regrout, update mirrors and lighting, and add crisp towels. Keep counters clear.
Basement or lower level
- If dry and well lit, stage as a media or play space with simple seating and storage. If not, keep it organized and clean.
Mudroom and laundry
- Show practical storage with hooks, a bench, and labeled bins. Keep surfaces clear to signal everyday ease.
Outdoor spaces
- Style patios or decks with seating, an outdoor rug, and planters. Remove clutter and refresh mulch for listing photos.
Garage and storage
- Declutter and use shelving to emphasize capacity. Remove excess items before photos and showings.
Photography and listing presentation
Good photos move buyers to schedule showings. Set yourself up for success by preparing the home for the camera first.
- Hire a photographer experienced with suburban homes. Ask for a shot list that includes exterior front and back, entry, main living areas, kitchen, primary suite and bath, secondary rooms, mudroom, and key outdoor amenities.
- Time your shoot for maximum light. Exteriors often look best at golden hour or midday, depending on orientation. Interiors tend to shine late morning to early afternoon.
- Consider a 3D tour and floor plan for higher-end listings. Virtual tours help out-of-area buyers understand flow.
- If using virtual staging in any photo, always disclose it in the listing and provide accurate measurements.
Your 3 to 6 month plan
A little lead time makes everything smoother and often less expensive. Here is a simple schedule you can follow.
Months 4 to 6: Plan and scope
- Meet with a listing agent to review local comps and prioritize updates.
- Do a pre-listing walkthrough and inspection to flag repairs like plumbing, electrical, roof, or HVAC. Get estimates.
- Decide scope. Focus on paint, lighting, hardware, and bathroom or kitchen refreshes unless your comps demand more.
- Line up vendors. Book a painter, electrician, plumber, flooring contractor, and landscaping help if needed.
- Consult a professional stager for layout and rental options. Book early for spring or summer.
Months 2 to 3: Complete updates
- Finish mechanical repairs and cosmetic updates. Swap fixtures, paint, and refresh floors.
- Improve curb appeal. Power wash, address the mailbox and house numbers, repaint the front door, and tidy beds and walkways.
- Schedule professional cleaning and window washing after work wraps.
Month 1: Stage and shoot
- Install staging and styling after cleaning.
- Schedule professional photography on a clear day.
- Add a 3D tour and floor plan if appropriate.
- Prepare print and digital marketing assets.
Final weeks: Keep the momentum
- Maintain curb appeal, water the lawn, and keep rooms staged and photo ready.
- If you live in the home, plan quick-reset routines for showings and store personal items out of sight.
Cost and ROI: Smart choices
Focus on the improvements buyers see first in photos and during the first ten minutes of a showing. Fresh paint, decluttering, curb appeal, and professional photography tend to offer the strongest returns for time and budget. Cosmetic updates in kitchens and baths can go a long way without a full renovation.
Consider larger projects only if your closest comparable homes have fully updated kitchens or baths and your timeline and budget allow. If your home will be vacant, full furniture staging helps buyers understand scale and flow. If you will be living in the home, partial staging or styling can make existing pieces work harder.
Vendors and permits: What to know
Coordinating trades is easier when one point person manages the calendar and quality checks. Centralize scheduling through your listing agent or a designated project manager. Request written estimates, timelines, and payment terms. Ask for references and recent local projects.
For rented staging furniture, confirm delivery and pickup dates, as well as insurance coverage. Most cosmetic work like paint, hardware, and fixture swaps does not require permits. If you plan electrical or plumbing relocations or any structural changes, verify requirements with the appropriate Scarsdale or Westchester building department.
Common mistakes to avoid
- Over-personalization. Minimize family photos and personal items so buyers can imagine themselves at home.
- Inconsistent finishes. Mixing too many metals or styles can feel disjointed. Keep visible areas cohesive.
- Over-staging to hide issues. Fix real problems first. Buyers notice.
- Lighting and odor misses. Replace burnt bulbs, color-match temperatures, and ensure the home smells clean.
- Skipping window cleaning. Clear, streak-free glass maximizes light and views.
- Ignoring outdoor spaces. Patios, decks, and yards matter in Westchester living.
Ready to list with confidence
With a clear plan, light updates, and thoughtful staging, your Scarsdale home can present beautifully in photos and in person. You will help buyers see how the house lives, from an inviting entry and practical mudroom to a calm primary suite and easy outdoor flow. If you want help prioritizing, coordinating vendors, and delivering a polished launch, connect with Jennifer Baldinger to schedule a consultation.
FAQs
When should a Scarsdale seller start staging and updates?
- Begin 3 to 6 months before listing so you can complete light updates, book vendors, and photograph the home at its best.
Do I need a professional stager for a Westchester home?
- It is not required, but a stager can unify style, scale furniture correctly, and improve photos, which helps attract showings and stronger offers.
Should I renovate the kitchen before listing in Scarsdale?
- Prioritize cosmetic fixes like paint, hardware, lighting, and a neutral backsplash unless your best comps clearly demand a full renovation.
How much does staging cost for a typical suburban home?
- Pricing varies by scope, but renting furniture for a vacant home often runs a few thousand dollars for the first month, with partial styling costing less.
Can I use virtual staging for empty rooms?
- Yes, virtual staging is acceptable when clearly disclosed in the listing, and it should be paired with accurate floor plans and measurements.
Will I need permits for the updates you recommend?
- Simple paint, hardware swaps, and fixture replacements usually do not require permits, but electrical or plumbing relocations and structural work do, so verify locally.